DIY Studio Setup: How to Turn Any Room into a Filming Space
We share how to create your own DIY studio setup in 8 steps, including lighting, sound, and filming tips.
DIY Studio Setup: How to Transform Any Room into a Filming Space
You don’t have to hire a studio to create professional-grade videos. With most of us walking around with 4k cameras in our pockets, it’s never been easier to record high-quality content at home. The key is knowing how to set up your space, even if it’s just a corner of your bedroom.
Below, we share how you can transform any room into a filming space that’s as good as any studio, including lighting, sound, and filming tips.
Why build a DIY studio?
Recording high-quality videos at home can be tricky. Living rooms can be dark and echoey, kitchen appliances can cause background noise, and your neighbour’s dog might bark at the most inconvenient times.
A dedicated setup gives you better control over the sound and lighting of your videos, making them look more consistent and professional. And beyond creative control, a DIY home studio will help you save time. So instead of spending half an hour moving furniture and setting up your equipment every time you go to record, everything is in place and ready to go.
The good news is you don’t need a huge room or expensive gear to get good results. Decent lighting and acoustics, a good microphone, and a clean background are usually all you need. Follow these 7 steps to create your very own DIY studio and start making professional-grade content without leaving the house.
Plan your content and goals
Before diving into equipment, consider what kind of content you want to create. Will you be filming in-person interviews? That’ll require enough space for at least two chairs and maybe an extra camera. Want to record a podcast? You’ll want to choose a room that’ll produce minimal background noise and echo.
To understand your needs, ask yourself the following questions:
- What kinds of videos do I want to make? Are you teaching, entertaining, demonstrating, or interviewing?
- How often will I be recording? Daily vloggers might prefer a permanent setup, while occasional content creators could build a portable setup that’s easy to pack away.
- Who will be on camera? If you invite guests, you’ll need more space or additional mics and seating.
- What camera angles and movements will I use? An overhead rig might be essential for cooking videos, but not necessary for talking head pieces.
Choose the right room
You don’t need an empty spare room to build your DIY home studio, small bedrooms or home offices are usually enough for basic setups. And you can always purchase a cheap green screen if you want to change your background without moving your furniture. Here’s what to look for when choosing the right room for your home studio:
- Lighting control: Rooms with windows provide natural light, but daylight changes throughout the day. North-facing windows offer soft, even light, while south-facing windows bring stronger sunlight that might create harsh shadows. If you prefer consistency, choose a room where you can block out external light and rely on artificial lighting (more on this later).
- Quiet location: Sound matters just as much as visuals. Avoid rooms that might produce a lot of background noise (think kitchen appliances, busy roads, and noisy neighbours). Basements work well because they’re isolated, as do bedrooms that are filled with soft furnishings to absorb sound.
- Space and layout: The bigger the room, the more flexibility you have. High ceilings help reduce echo and allow space for overhead lighting rigs. However, even small rooms can work if you’re creative – just ensure there’s enough depth behind you to avoid sitting right up against a wall, which can look flat.
- Neutral walls: Wall colours cast hues on your skin, so choose neutrals like light grey, white, or beige that won’t reflect unusual colours onto you.
- Floors and walls: Solid floors and walls have better acoustics than hollow ones. Choose a carpeted room if you can, as this will help absorb sound, and cover windows with heavy curtains to reduce reflections and external noise.
- Power outlets: Video equipment can be very power-hungry, especially if you’re using lights, cameras, and wireless audio equipment. Aim for at least 4 outlets in the room, and if you’re short on plugs, invest in a quality extension lead.
Soundproofing and acoustics
Echoey or tinny audio is a real turn-off for your audience. When it comes to audio prep, you’ll want to focus on soundproofing (to keep external noises out) and acoustic treatment (to control reverb inside the room).
How to soundproof your DIY studio
- Seal gaps: Sound travels through cracks around doors, windows, and walls. If you have noisy neighbours and have the budget, you could consider adding a second layer of plasterboard to your room, filling the cavity with fibreglass or sound-damping compounds like Green Glue. You can also apply acoustic sealant around door frames and window edges.
- Cover the door: Hollow doors let in a lot of noise. But if replacing your door isn’t an option, you can hang a thick blanket on it or install a draught excluder at the bottom.
- Floor and ceiling: If you have neighbours below, consider laying down carpets or soundproofing mats, which help stop sound from echoing up. To block noise from above, you can purchase some acoustic clouds.
Note that the above steps are really only necessary if your room is particularly echoey or receives a lot of external noise.
How to improve room acoustics
- Place bass traps in corners: Place bass traps where the wall meets the ceiling and where two walls meet, as this will have the biggest impact.
- Absorb sound on walls: A few acoustic foam panels can help control echoes. If you’re on a budget, hanging soft furnishings like curtains, rugs, or quilts can do almost as good a job.
Design your backdrop and set
Your background tells a story about you, so aim for clean, uncluttered, and aesthetic. If you can’t find a suitable backdrop in your home or space is limited, you can hang a sheet or green screen from coat hooks behind you. A small lamp or LED strip in the background can also add a pop of colour and intrigue to your shots without distracting viewers.
Lighting
Lighting is arguably the most important element in video production. Good lighting flatters your face, hides imperfections, and adds depth, but bad lighting makes even the best camera look poor. Here’s how to light your DIY studio without blowing your budget:
- Ring light: A ring light or clip-on LED placed near eye level can bathe your face in soft, flattering light. You don’t have to buy an expensive one, either – and can pick one up for as little as £10 on marketplace sites like Amazon and eBay.
- Second lamp: As your budget grows, you might want to add a second lamp on the opposite side to soften any shadows and, if needed, a dimmer backlight to separate you from your background.
- Natural light: If you’re on a super tight budget or prefer natural-looking light, you can sit facing a window for soft, even illumination.
If you’re using artificial lights, make sure all bulbs are the same colour or temperature to avoid odd skin tones.
Looking for more lighting and sound tips? Check out these Budget-Friendly Lighting and Audio Hacks for Creators.
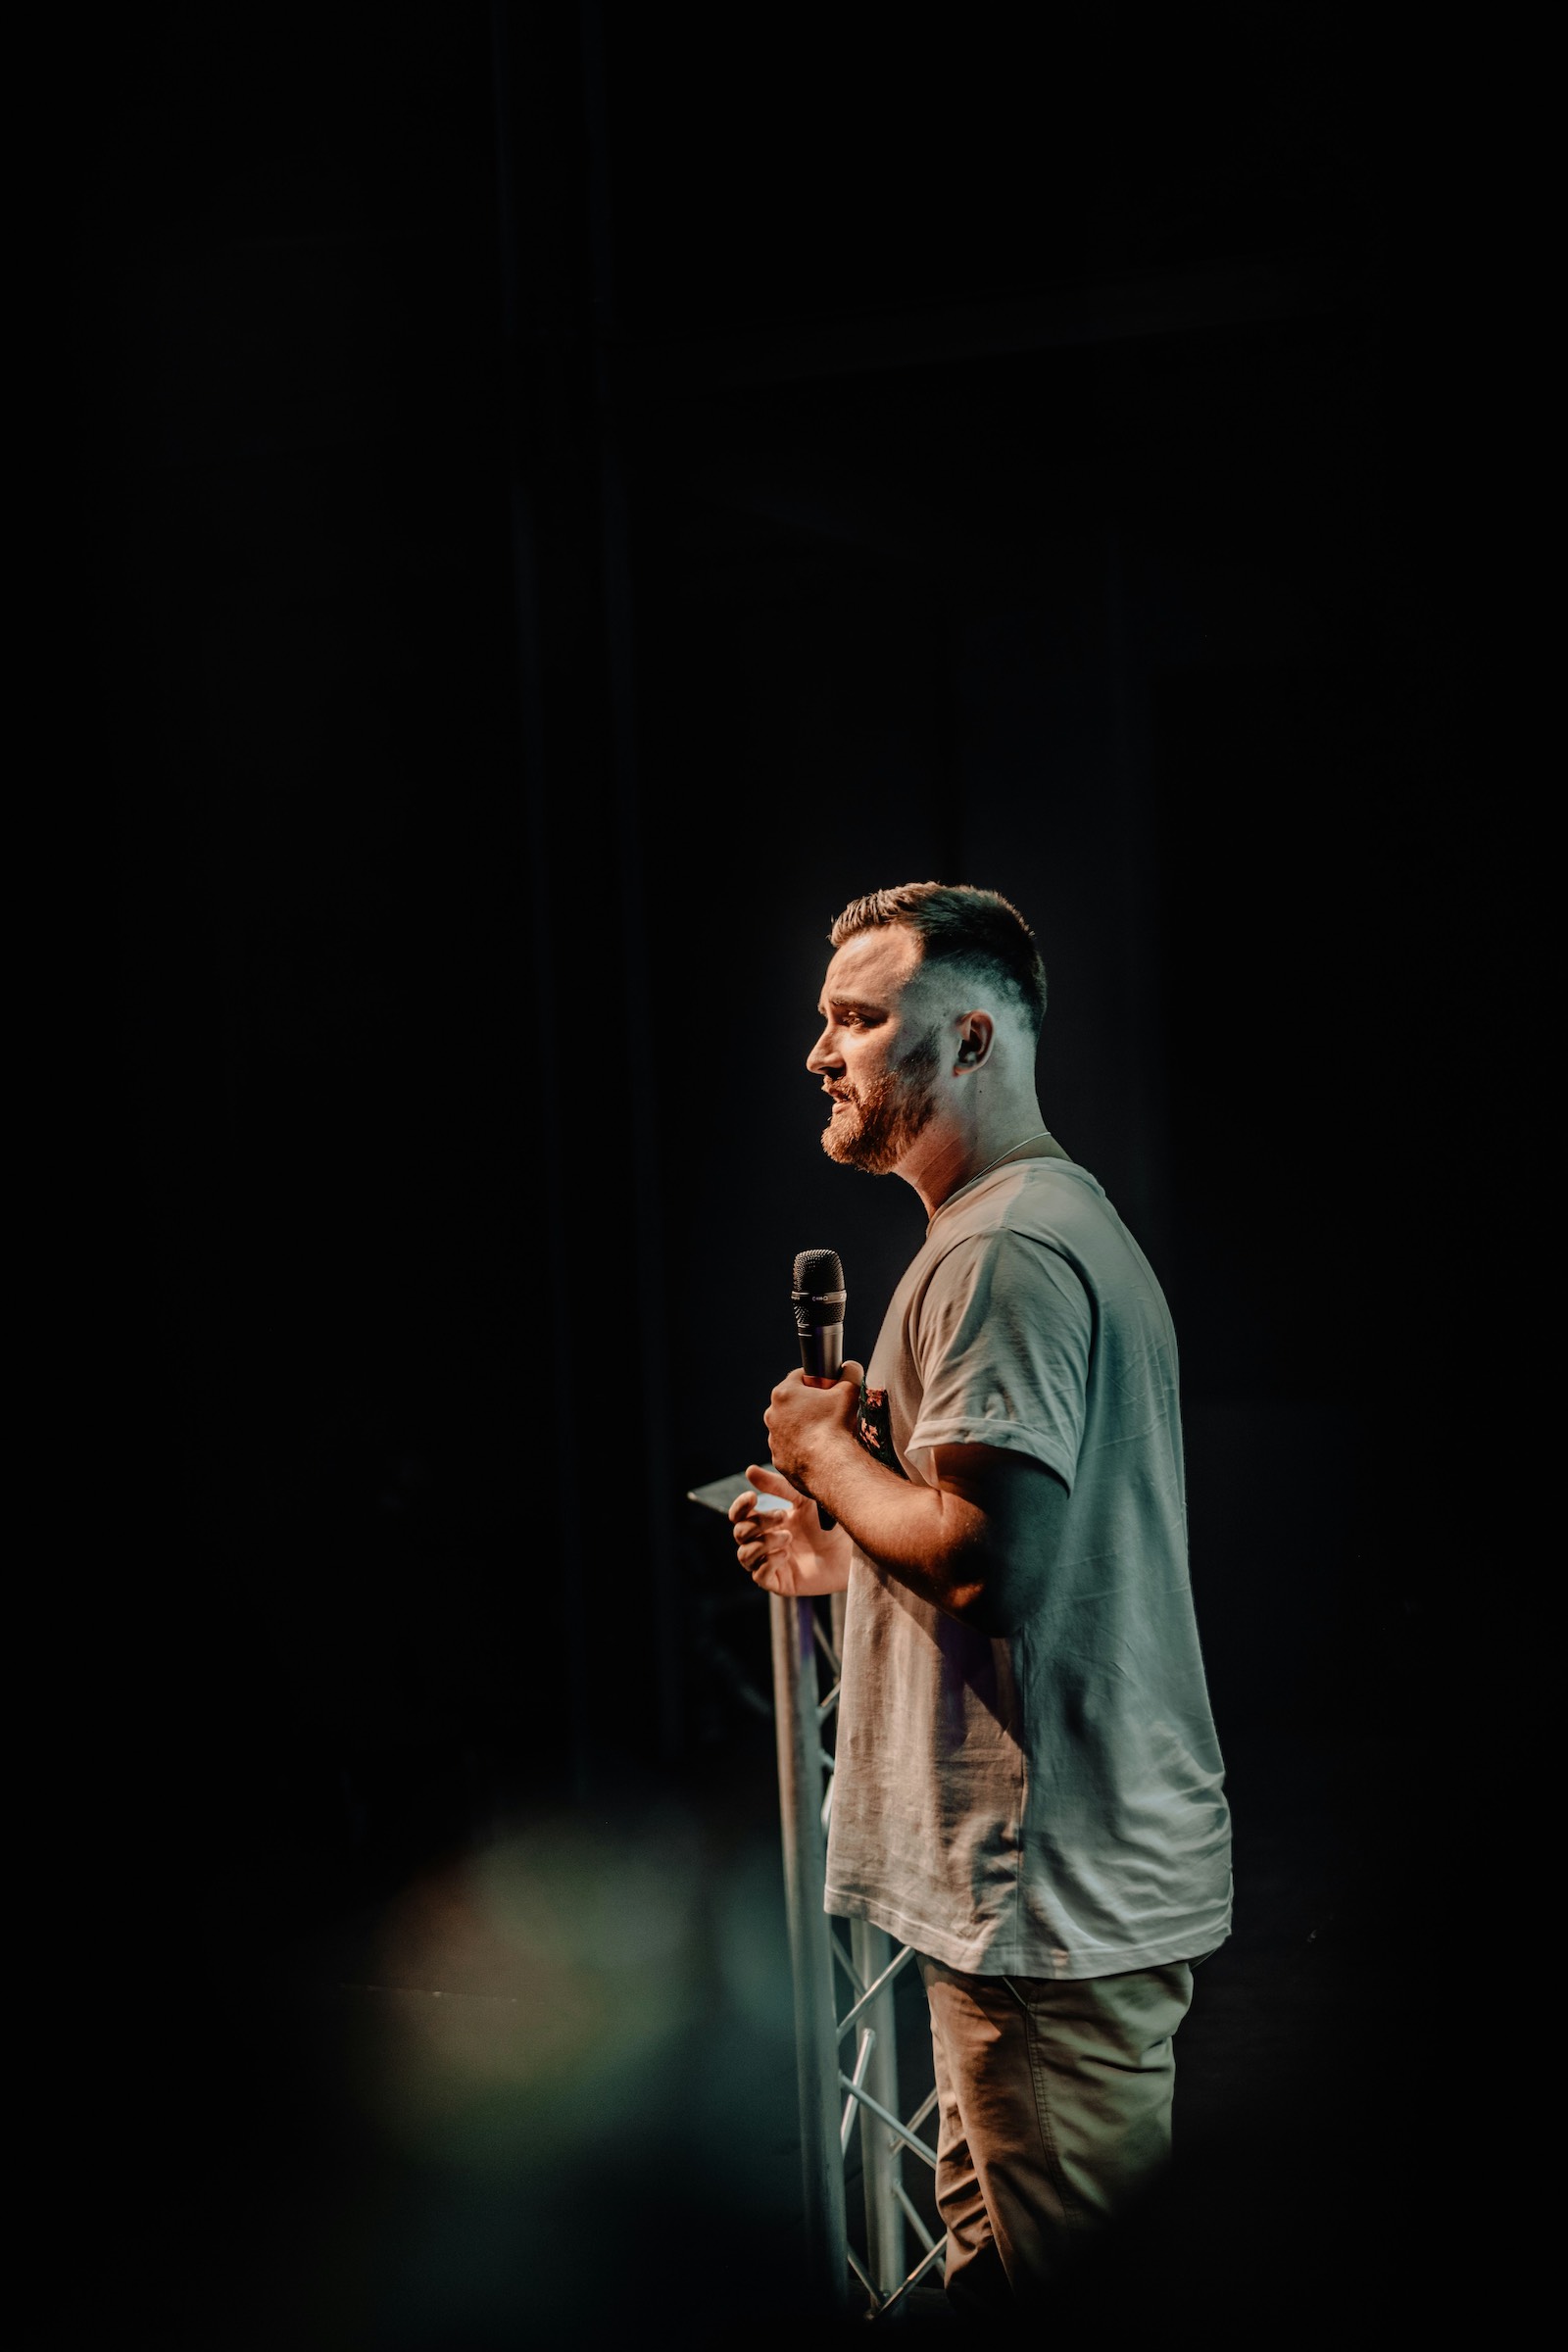
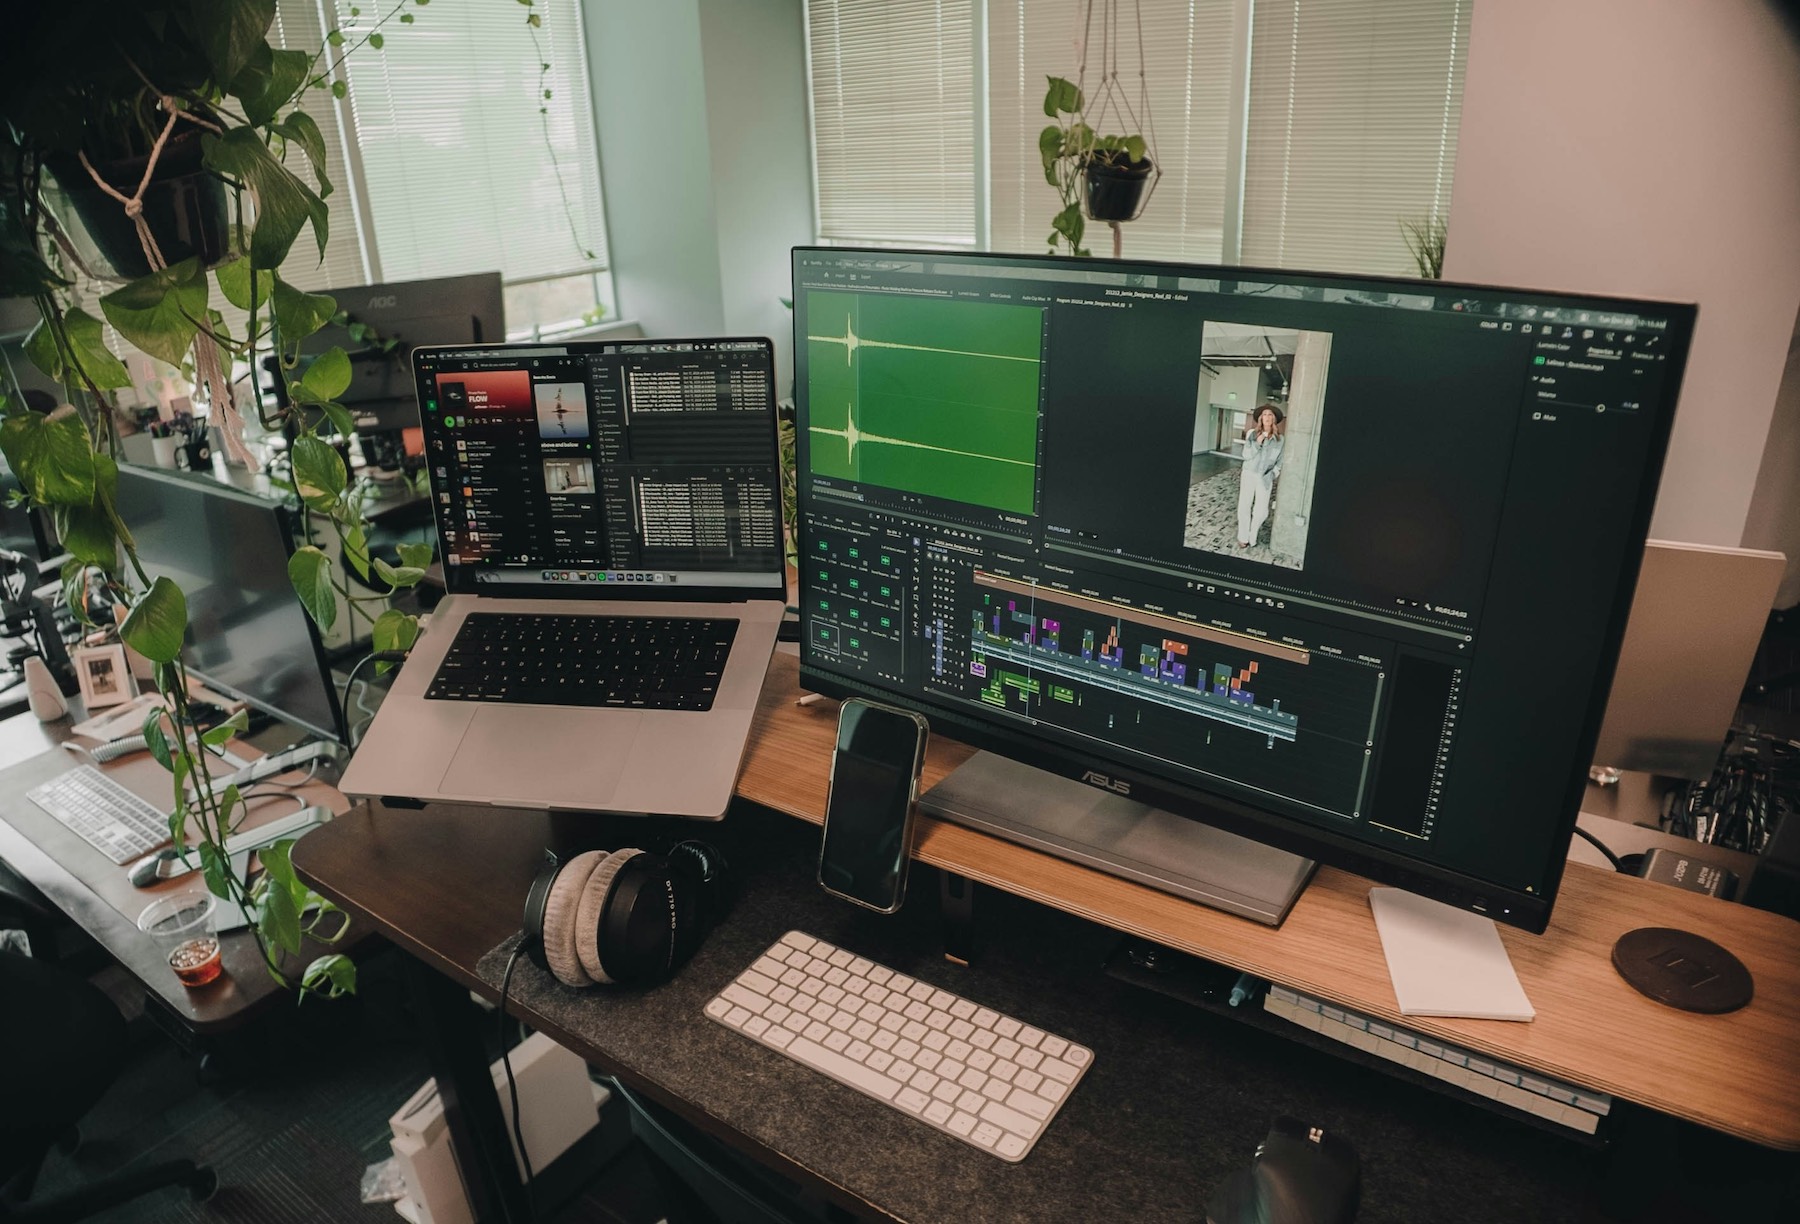
Camera options and positioning
If you’re a podcaster or just want to record audio in your DIY studio, feel free to skip this part.
But if you’re a creator who’ll be using video, you’ll be glad to hear that you don’t need a professional setup, or even an expensive camera for that matter.
Modern smartphones boast impressive camera quality, and this can be further enhanced by your settings and setup. When shooting on your phone, be sure to set it to the highest resolution, and purchase a tripod for stability and consistency with your framing.
If you do want to take things to the next level, you can invest in a mirrorless or DSLR camera, which will give you the option of interchangeable lenses and beautiful background blur. Just be mindful that these cameras will produce much larger footage files, so you’ll likely have to purchase extra memory cards and hard drives to store everything.
Whichever camera option you choose, keep the lens at eye level or slightly above when filming, and leave some space behind you so that the background falls slightly out of focus.
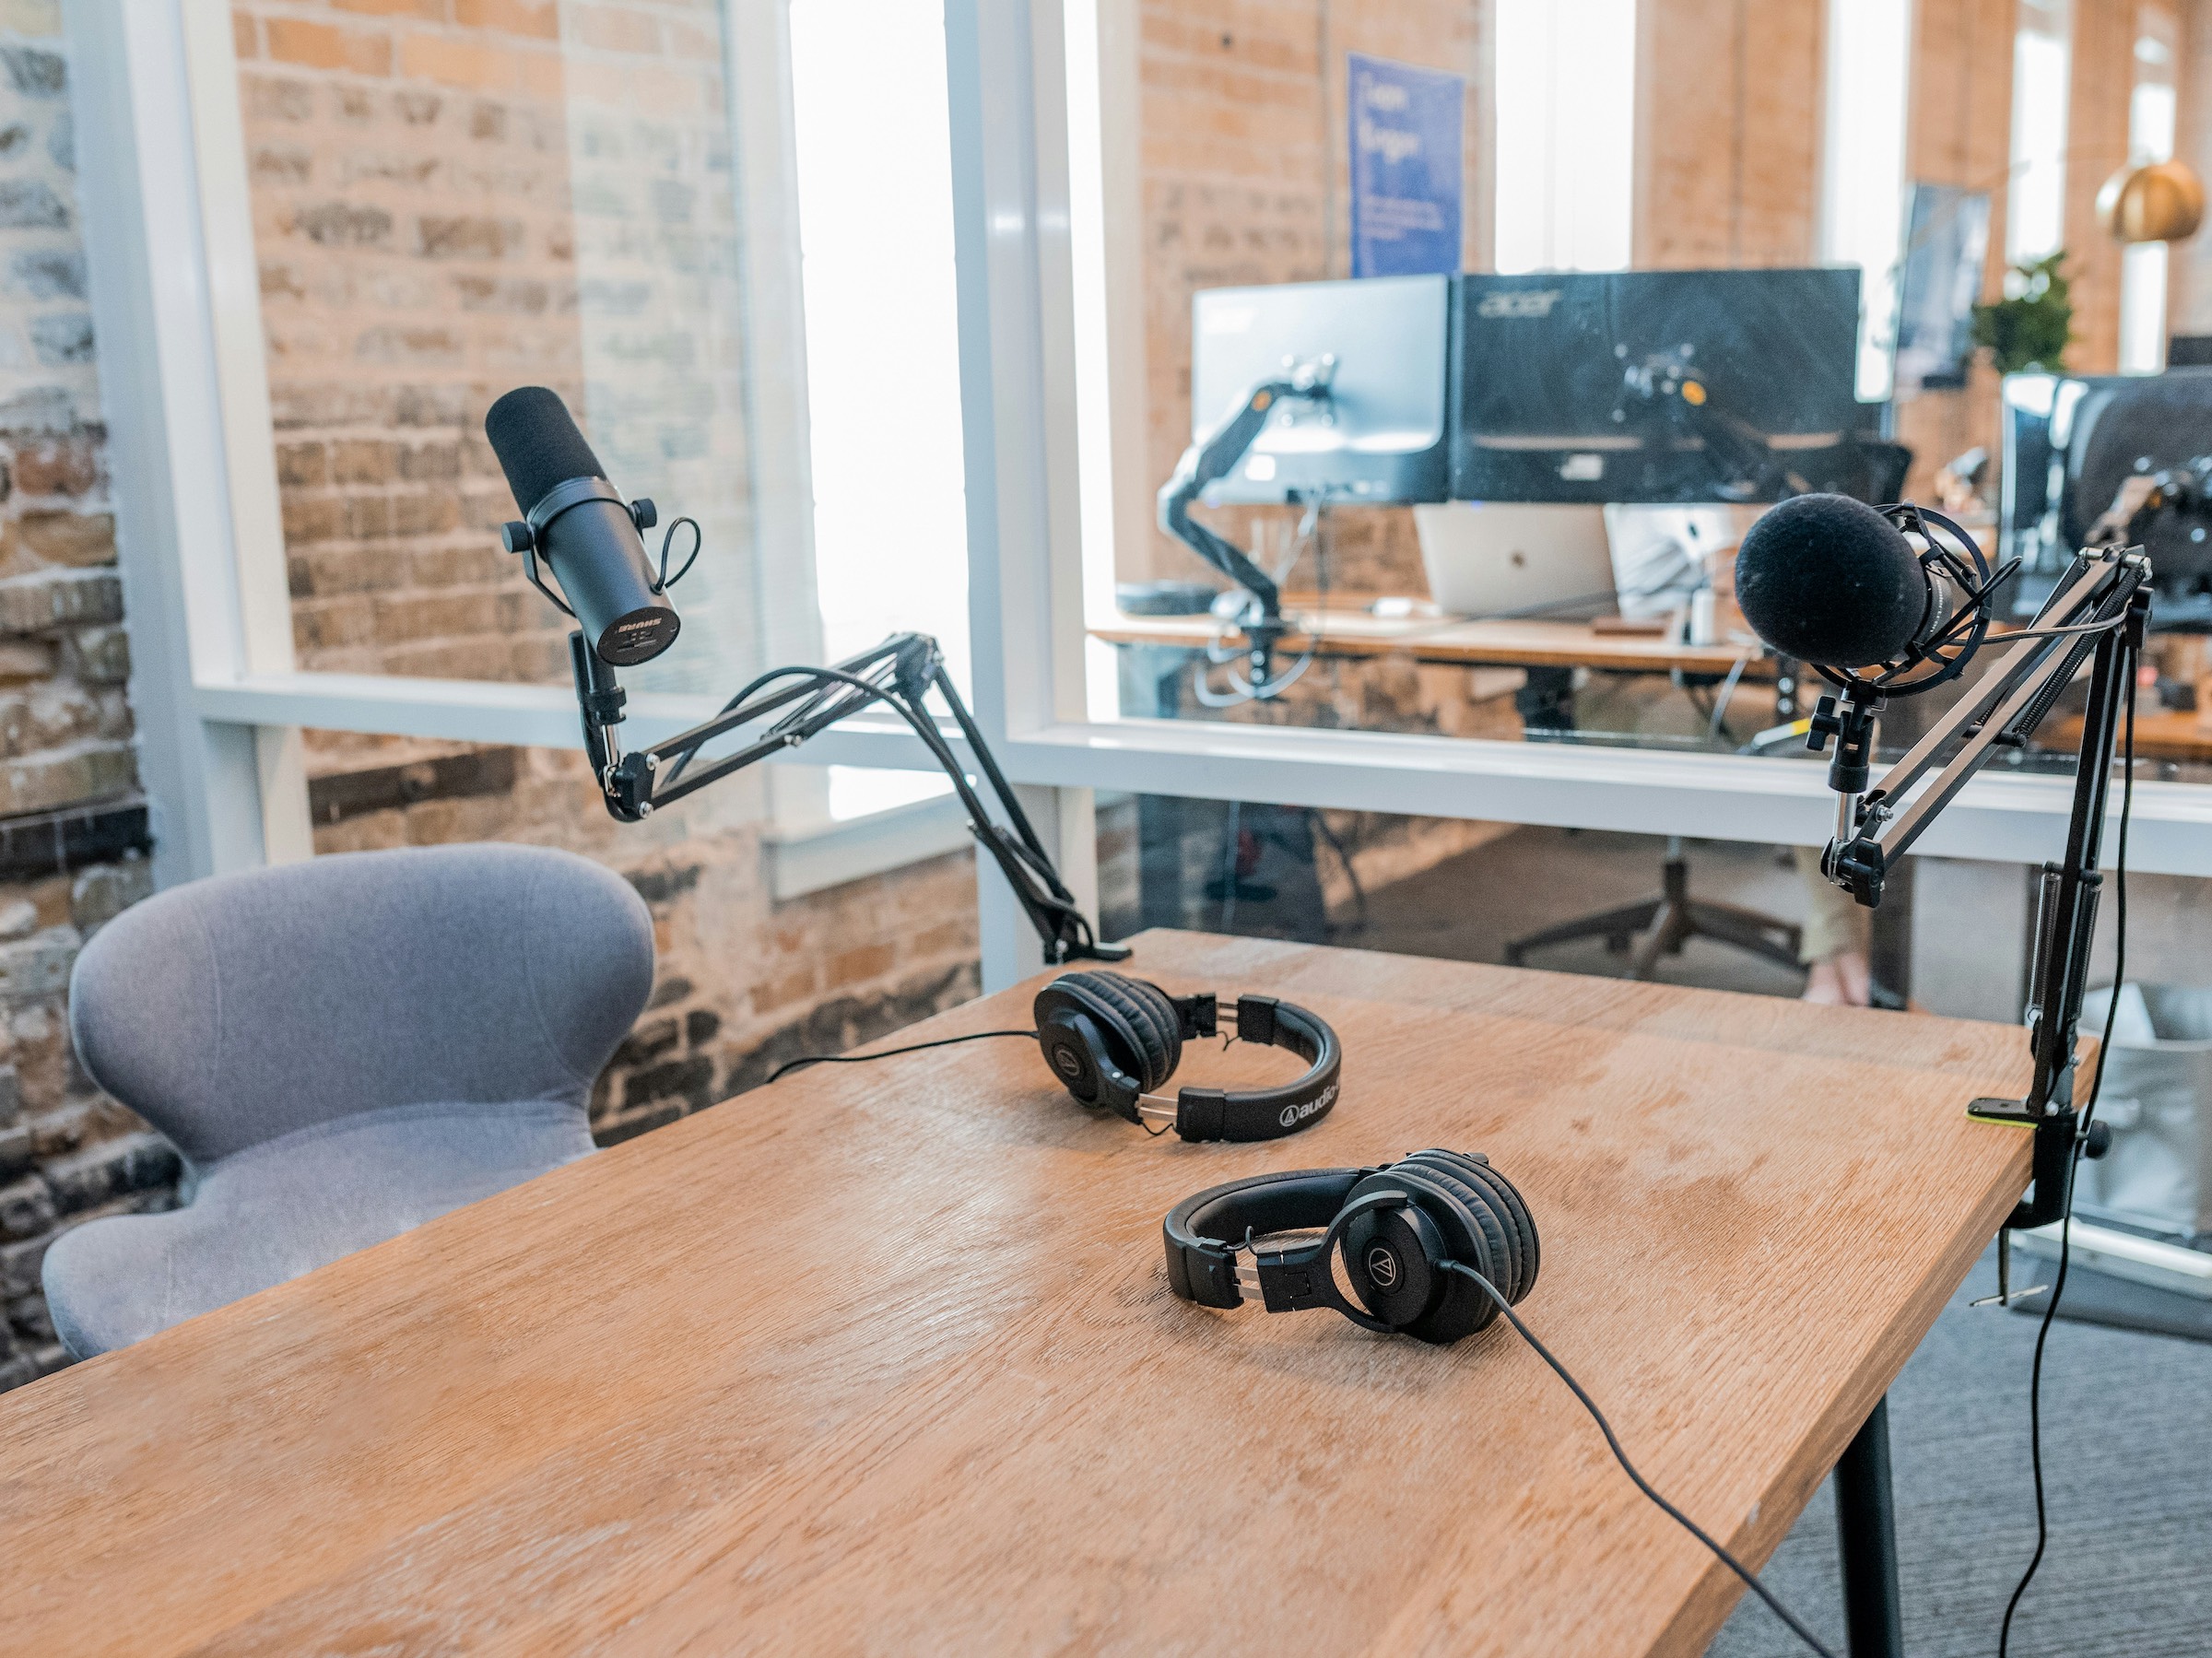
Audio and microphones
Choose a microphone that suits your room
Audiences can generally forgive occasional shaky footage, but bad audio quality will drive them away. That’s why your choice of mic matters, even with good room treatment. Here are some microphone recommendations and their best use cases:
- Desk-mounted dynamic mics: A staple for podcasting, these are more forgiving in noisy spaces, pick up less ambient noise, and are ideal for DIY home studios.
- Condenser mics: Are very sensitive and capture more sound, but require a quieter space.
- Lavalier mics: These clip onto your clothing and tend to be forgiving in noisy environments, so they’re great if you need to move around.
- Shotgun mics: Minimise background noise but work best in quiet, treated rooms. Should be mounted just outside of your frame.
Your choice of microphone will depend on the sort of content you’re creating. If you’re recording a podcast or ASMR videos, a condenser microphone might be the best fit. But if your content is more video than sound-focused, a dynamic, lavalier, or shotgun mic might be more suitable.
Use a pop filter
Many microphones come with a built-in pop filter or foam windscreen, but if yours doesn’t, you should consider using one. A pop filter sits between your mouth and the microphone and helps reduce the heavy pops that ‘p’ and ‘b’ sounds create. They also help keep dust and spit off the microphone, which can help extend its life!
Headphones
Your choice of headphones is almost as important as your mic, and you’ll need a really good pair if audio quality is your top priority i.e. for podcasting or ASMR videos. Choose a pair of closed-back, wired headphones and wear them while recording to get a live, unfiltered window representation of what the mic captures.
Good headphones can also help you learn proper mic distance and prevent sound from bleeding into your mic. Choose a pair that prioritises isolation and comfort, and always go wired to avoid latency.
Teleprompter App
One of the most powerful yet underrated tools in a home studio is a teleprompter, which allows you to look directly into the camera while reading from a script. But you don’t need to invest in a professional rig to access that benefit. Teleprompter Pro is a free teleprompter app that runs on your iPad, iPhone, or Mac, so you can mount the device in front of your lens or use the app’s built-in selfie recording function to record on your phone.
Teleprompter Pro is fully customisable, so you can adjust the font, text colour, and size of margins of your script to aid readability and achieve the most natural-looking result. The timed scrolling feature helps you make sure your videos fall under any strict time limits, and you can even adjust the scroll hands-free with remote control options. These features can be invaluable in a DIY studio setting where you might not have an extra pair of hands to help out.
Essential gear checklist
Now that we’ve covered everything you need to create your DIY studio, here’s a simple checklist covering all the essentials to help you source your gear and plan your space:
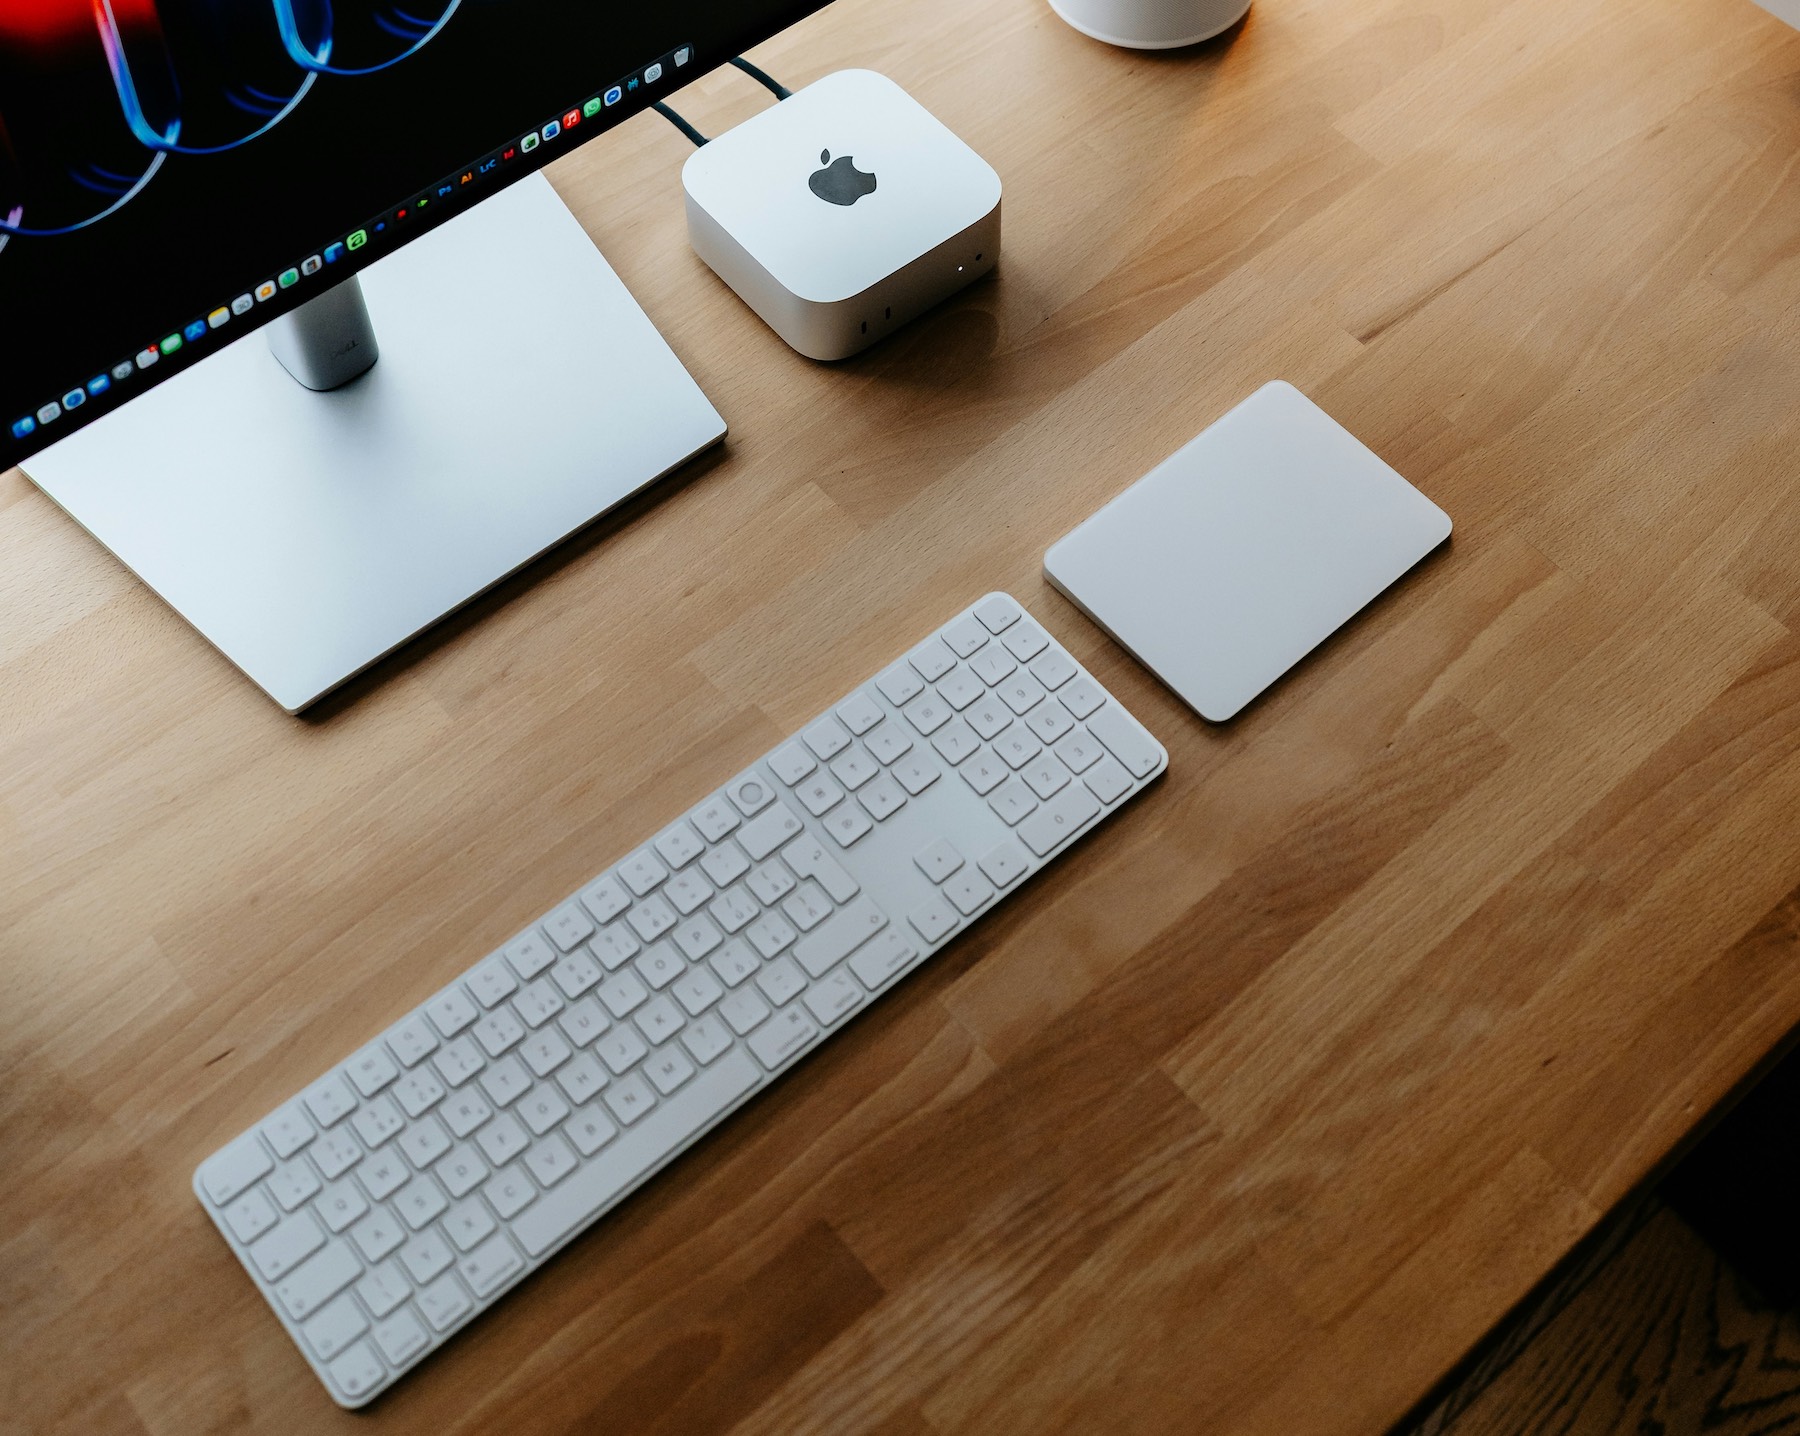
- Camera: Modern smartphone cameras are good enough in most cases, but if you’re looking for a more professional result, choose a DSLR or mirrorless camera.
- Camera support: A tripod or desk mount that keeps your camera or phone steady and at eye level.
- Lighting: A ring light or LED panel as your main light, plus a second lamp, a small backlight, or a coloured LED strip for depth.
- Backdrop: Choose a clean wall or aesthetic background, or hang some fabric or a green screen behind you.
- Sound: An external microphone (shotgun, condenser, dynamic, or lavalier), plus accessories like a pop filter or foam windscreen.
- Monitoring: A good quality pair of closed-back wired headphones to get an accurate representation of what’s being recorded.
- Acoustic treatment: Rugs, curtains, foam panels, or repurposed soft furnishings to reduce echo and improve sound.
- Free teleprompter app: Read scripts while maintaining eye contact with the camera by aligning the device with your camera lens or recording straight from your phone.