How to Batch Record Videos for Social Media and YouTube
Whether you’re posting on TikTok, Instagram, or YouTube, here’s how to batch record your videos in just 2-3 days to maximise your productivity.
Content creators understand that creativity ebbs and flows. Some days you feel like you’re a content machine, when the ideas and motivation come naturally to you. Other days, you may feel like nothing can get the juices flowing.
Batch recording your video content can help you make the most of your good days and stay on top of your posting schedule. Whether you’re posting on TikTok, YouTube, or elsewhere, follow the below guide and tips to batch record your videos and maximise your productivity.
Day 1: Preparation
Research content ideas
Consistency and posting frequency are two of the biggest challenges for content creators. Planning your content ideas in advance can help you stay motivated to film and keep on top of your posting schedule.
If you struggle to come up with new content ideas, here are a few options to try:
- Google Trends: Enter a few keywords or keyphrases related to your niche, then check related search queries to find out what your audience is searching for. This SEO-driven approach will not only help you come up with content ideas, but it can also boost your discoverability!
- TikTok Creator Search Insights: Did you know that you can type ‘Creator Search Insights’ into the TikTok search bar and it will give you a ton of content ideas relevant to your niche? This handy tool shares valuable metrics on popular search queries, including content gaps (topics that receive a lot of searches but aren’t featured in a lot of videos). TikTok also lets you save these ideas to your favourites folder for easy bookmarking!
- ChatGPT: You can ask ChatGPT to analyse your social media or YouTube profile and give you feedback on what’s working for you and what could be improved. It can also create a list of content ideas for you based on that data, and what it thinks could be most helpful or relevant to your audience!
- CapCut Trending Templates: Visit the ‘Templates’ tab on the CapCut mobile app to browse viral trends and get new content inspiration. Trends come and go quickly, though, so we recommend browsing CapCut templates at least once a week and posting your edit as soon as possible.
- Repurpose old content: New content doesn’t always require completely new topic ideas. You can recycle or complement your old content with a fresh perspective or theme. For example, if you’ve previously posted a video on ‘tools I recommend for beginner gardeners’, you could put a spin on the same topic with ideas like ‘3 ways I use this gardening tool’, or ‘tools I DON’T recommend for beginner gardeners’.
Create a content calendar
If you’re serious about batch recording videos for YouTube, TikTok, or Instagram, consider creating a content calendar. Not only will it help you stay motivated, it’ll also help you spot content gaps, avoid repetition, and batch record similar videos together.
You can organise your content calendar by separating your content ideas list into a number of broad categories, for example:
- Easy recipes
- Cooking tips
- Vlogs
- Trending videos
- Kitchen product reviews
- Food carousels
Once you’ve finalised your broad topics, you can then break each one into 4-5 subtopics. For example, ‘cooking tips’ could be split into:
- Beginner advice
- Budget-friendly cooking
- Mistakes to avoid
- Low-waste cooking ideas
By following the method above, you can brainstorm 25+ video ideas in just one sitting – enough to cover half a year of posting once a week!
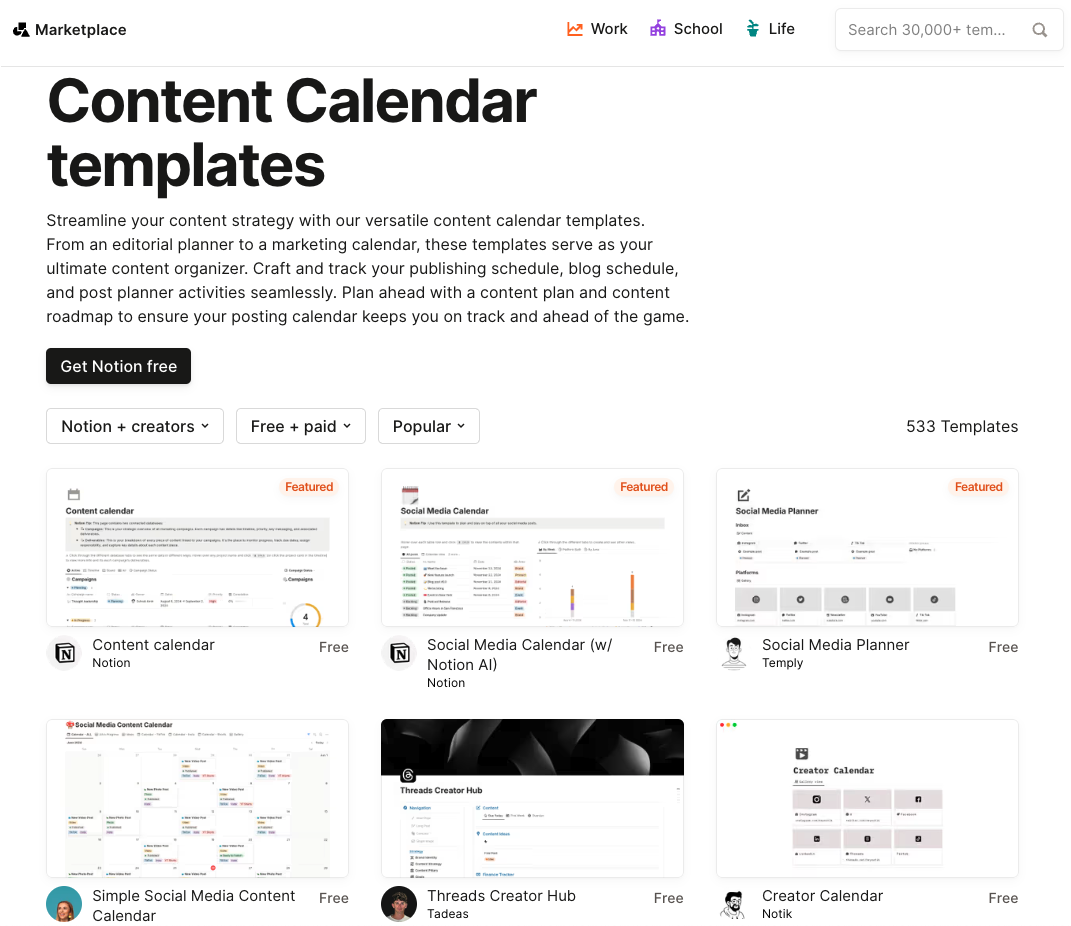
Once you have your list of subtopics, you can organise your ideas into your content calendar of choice. Notion has some great free content calendar templates that are free to download and easy to use. Many are platform-specific, and some even have extra functionality like goal-setting or performance metrics built in. We suggest browsing their content calendar template library to see which one best meets your needs.
Write your scripts and video titles
You might not be used to writing scripts, but doing so will save you a lot of time recording and editing. Scripting your videos helps you remove filler words like umms and ahhs that slow your videos down and make you look unsure. Plus, writing scripts also helps you stay on track with the content topic – by laying out a solid beginning, middle, and ending in advance, you won’t have to think on the spot or second-guess your decisions halfway through filming or editing.
If writing isn’t your forte, you can always ask ChatGPT to help you come up with a rough draft. Just be sure to edit this so that it matches your personality and speaking style.
Pro tip: If you’re batch recording videos for YouTube, you should write your video title before you write your script. This will help you stay focused on the video topic and make sure that the script fully aligns with what your viewers expect.
Create a shot list
A shot list outlines the visuals that will accompany your script – including b-roll and talking-to-camera clips.
Creating a shot list before you film can help you make the most of your time and ensure you don’t forget to record any key bits of footage.
You can create your shot list in Google Sheets or a table in Google Docs, using one column for your script and another for the visuals. Take a new row for each line or video section, placing the words and accompanying visuals in side-by-side cells.
It will look something like this:
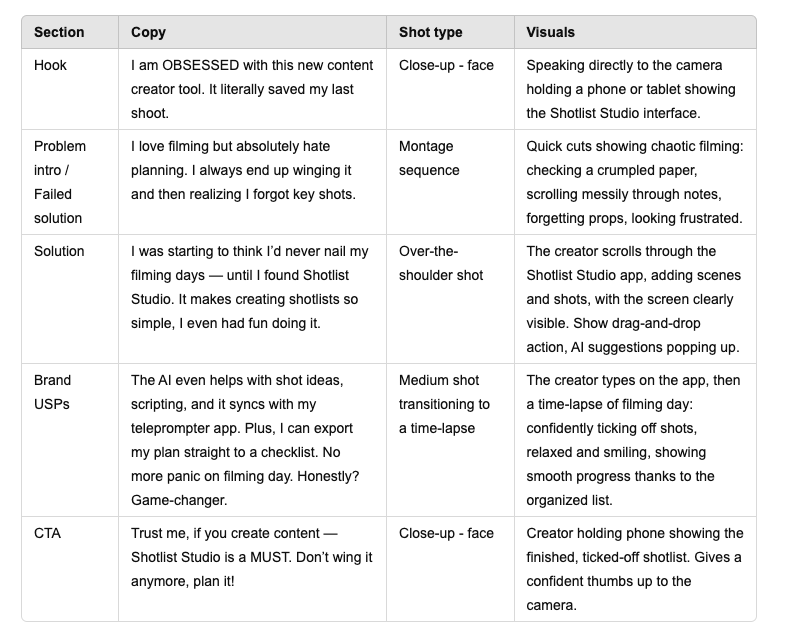
Pro tip: Consider filming a wide, medium, and close-up version of each shot for versatility, or in case there’s something unwanted lurking in your background! Whatever you don’t use can be stored in a Google Drive and may come in useful for future videos.
Plan your outfits and/or environments
It’s important to have variety on your channel, especially in your video thumbnails, to make your content look distinct. Switching up your outfits and/or backgrounds is the easiest way to achieve this. Doing can also help hide the fact that you’ve batch recorded your content. Plus, it’ll give you an excuse to take a quick break and move your body, which can help refresh your brain and keep you motivated!
Planning your outfits and backgrounds before recording also means you’ll save time on filming day. You can make a note of these in your shot list, and lay out all your outfits in advance for quick changing.
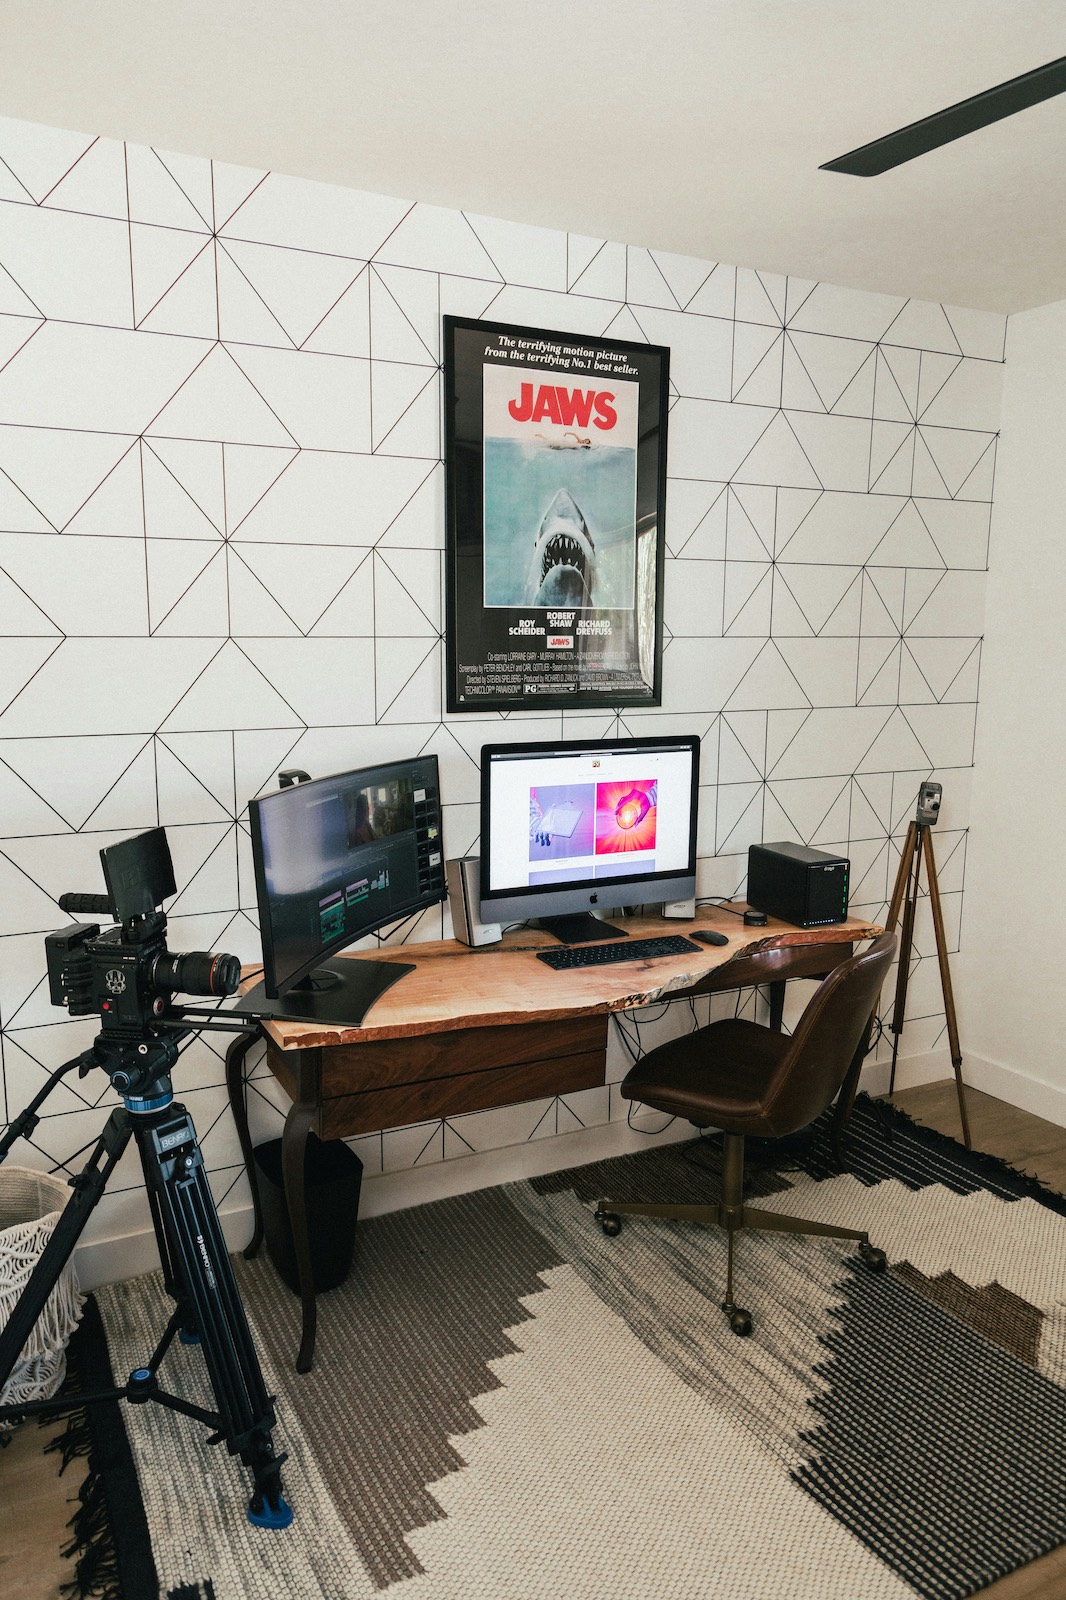
Prep your equipment
To avoid any unpleasant surprises on filming day, you should always prep your equipment the day or night before. This can include:
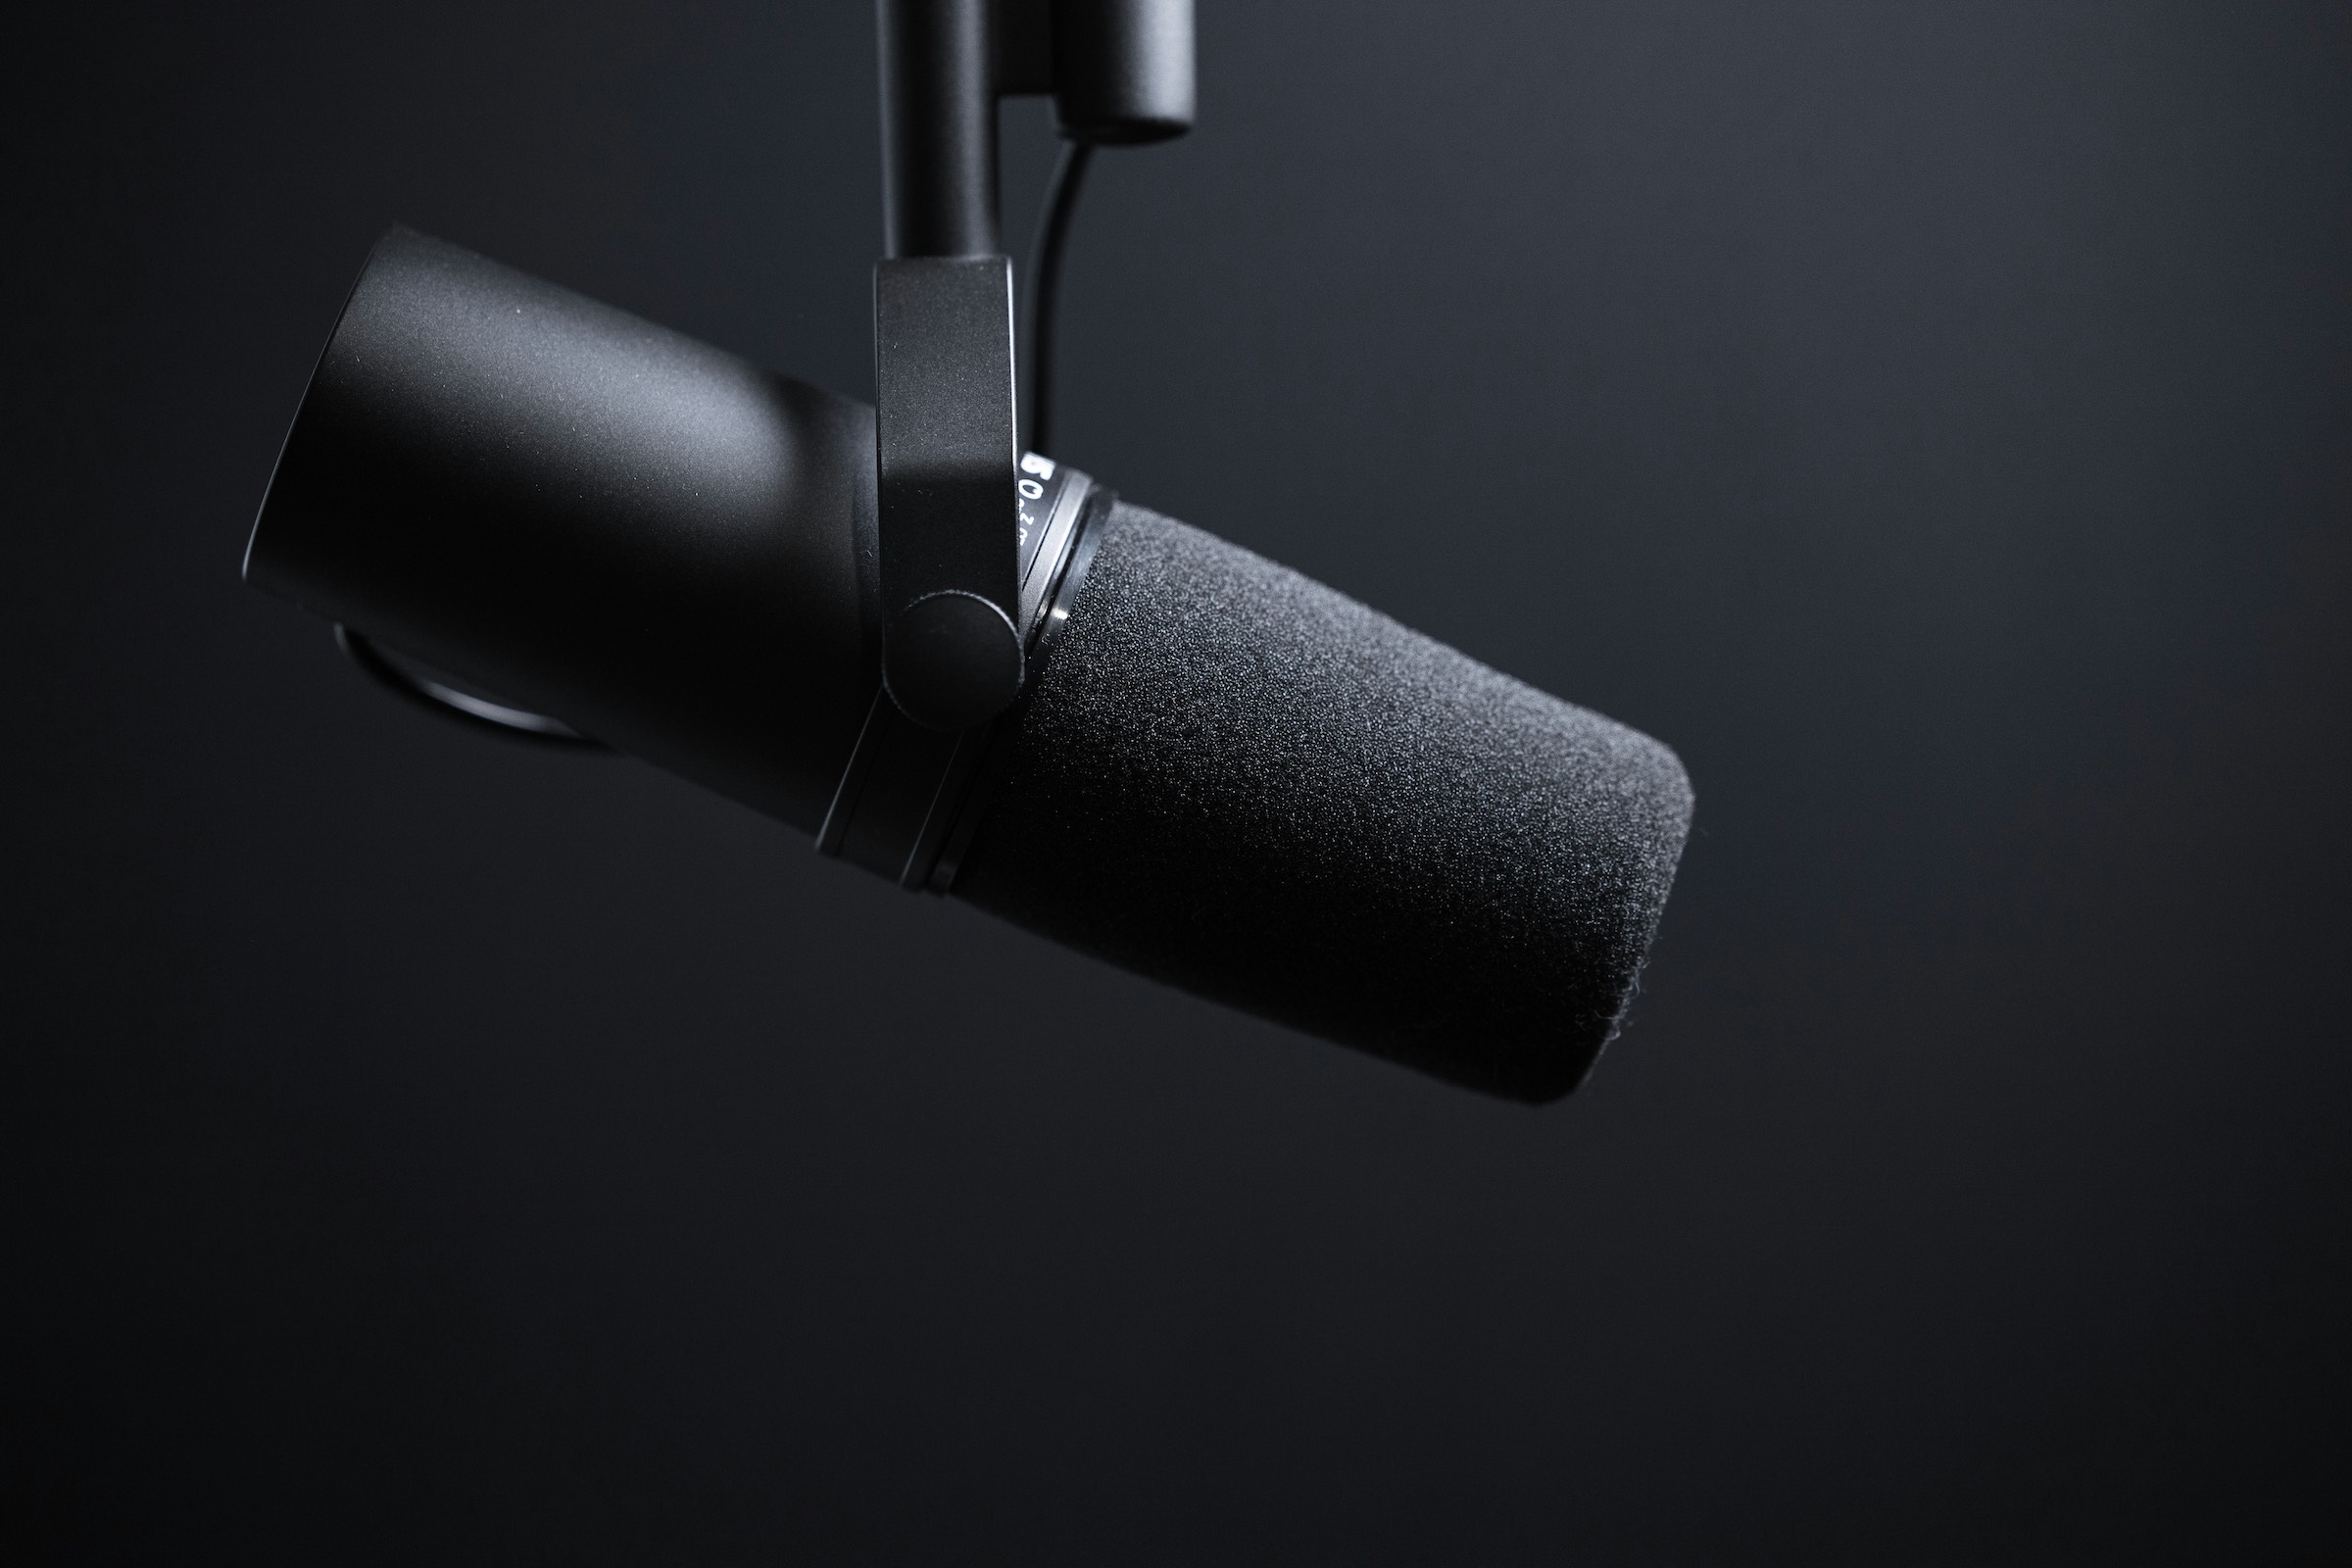
- Charging your batteries (camera, lights, microphones).
- Clearing storage space on your phone or SD cards.
- Testing your lighting, sound, and filming equipment.
You can also create a mini checklist to double-check everything right before you film, e.g. tidy background, clean lens, microphone plugged in, etc.
Day 2: Filming
Batch your record b-roll
Aim to get as much b-roll as possible on filming day – you can repurpose the clips for future videos and save yourself even more time! By recording your b-roll first, you’ll know exactly what footage you have to work with, as some of the shots may not go to plan. If that happens, you’ll be able to make amendments to your script before filming your talking-to-camera clips or voiceover.
Storing your b-roll
We recommend storing your b-roll footage in a Google Drive to save space on your phone or memory cards. This also means the footage is easily accessible from anywhere, should anything happen to your devices.
You can even organise the footage into separate folders so that you can quickly source relevant clips for future videos!
The more b-roll content you can get, the better. Having a bank of content at the ready means you could start producing full videos without having to film anything new – just add a voiceover!
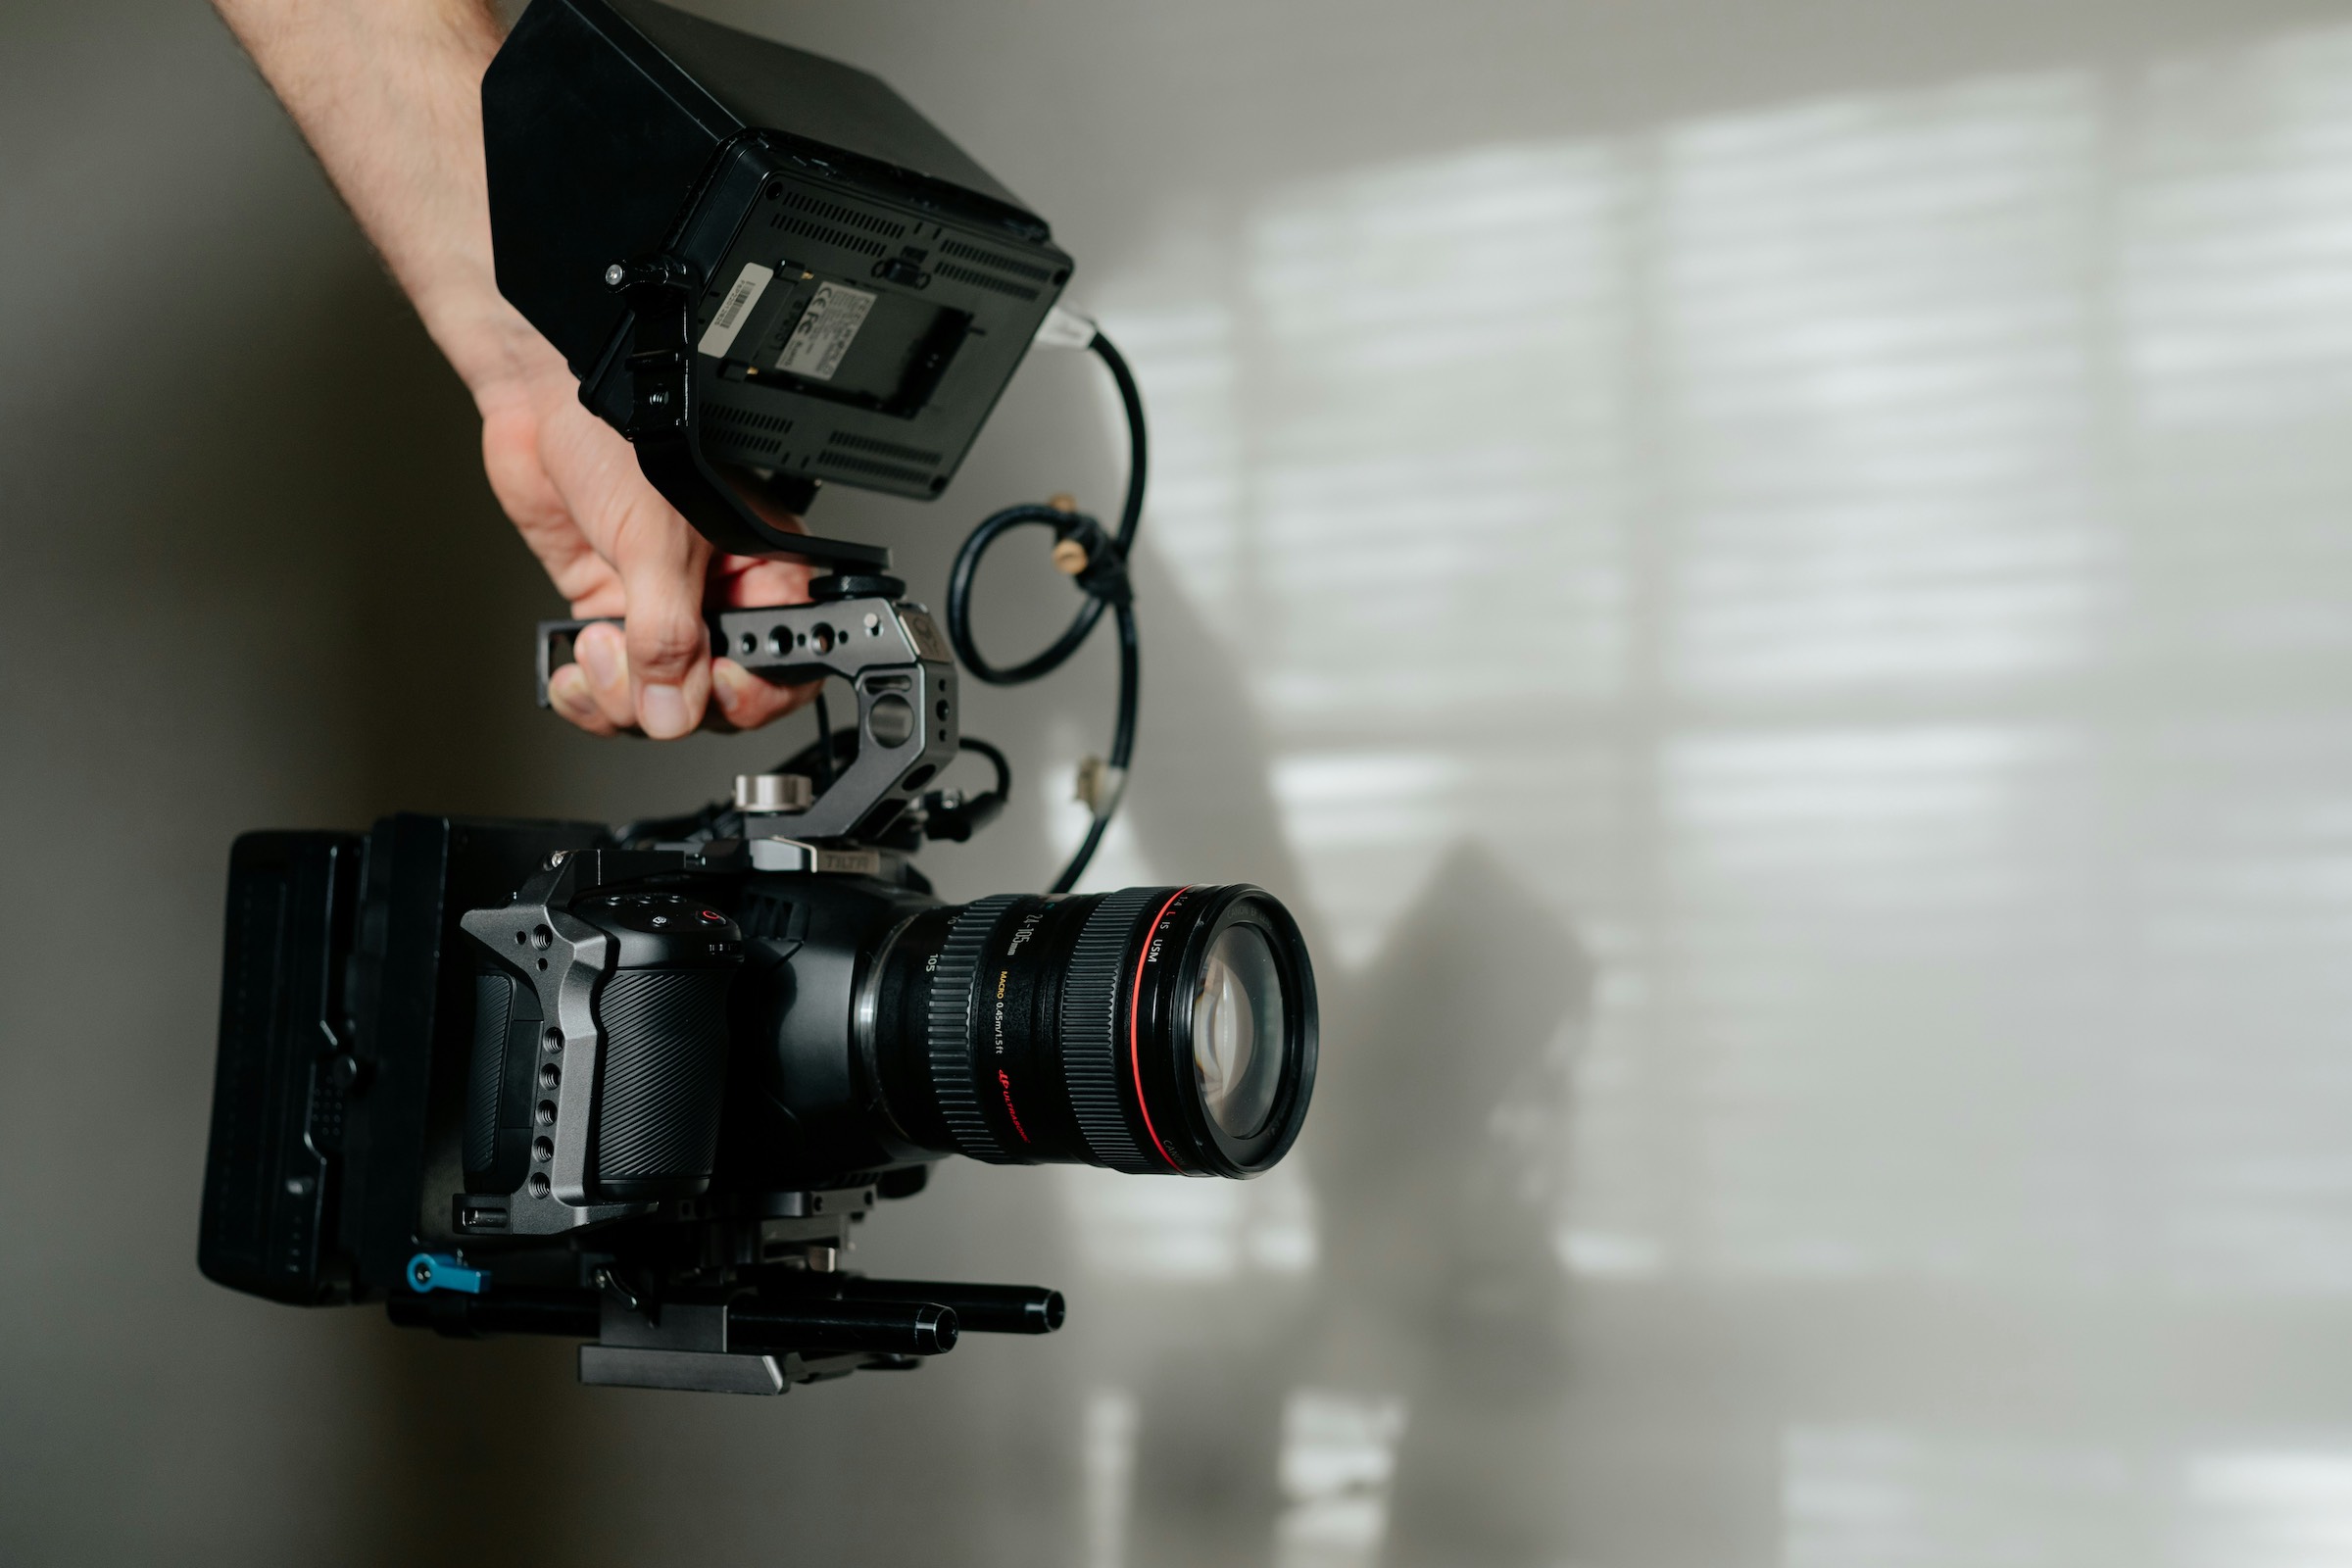
Batch record your talking-to-camera clips
We recommend batch recording your talking-to-camera clips separately from your b-roll so that you can keep your camera in one place for consistency.
Depending on the amount of footage you need to record, you may want to dedicate a full day to filming your talking-to-camera clips. This might be necessary if you plan on filming the shots with natural light – filming around midday will create more consistent lighting than in the early morning or evening.
Don’t forget to change up your outfits when batch recording your talking-to-camera clips!
Tips for batch recording videos
Take breaks every 30 minutes
While batch creating content can be very productive, it can also be taxing. To avoid burning out, take regular breaks – and be strict with yourself on this one! Get up every 20-30 minutes and do something that refreshes your body and mind, e.g. do some stretching, make a nice drink, go outside, or eat a snack. Do something you enjoy that isn’t too difficult – just don’t scroll social media!
Use a teleprompter
A teleprompter is one of the easiest ways to maximise your productivity on filming day. It can help you nail your talking-to-camera shots on the first take, and reduce filler words like ‘umm’s and ‘ahh’s that can slow your video down and make you look unsure. All this means you can save an enormous amount of time recording and editing, not to mention a lot of storage space on your devices!
If you aren’t used to reading off a teleprompter, or you think it might make you sound robotic, don’t worry. Free teleprompter apps like Teleprompter Pro are fully customisable, meaning you can set the scroll speed, text size, and margins to what feels most comfortable. The app can even overlay your script over your selfie camera, so you can keep your appearance in check while recording!
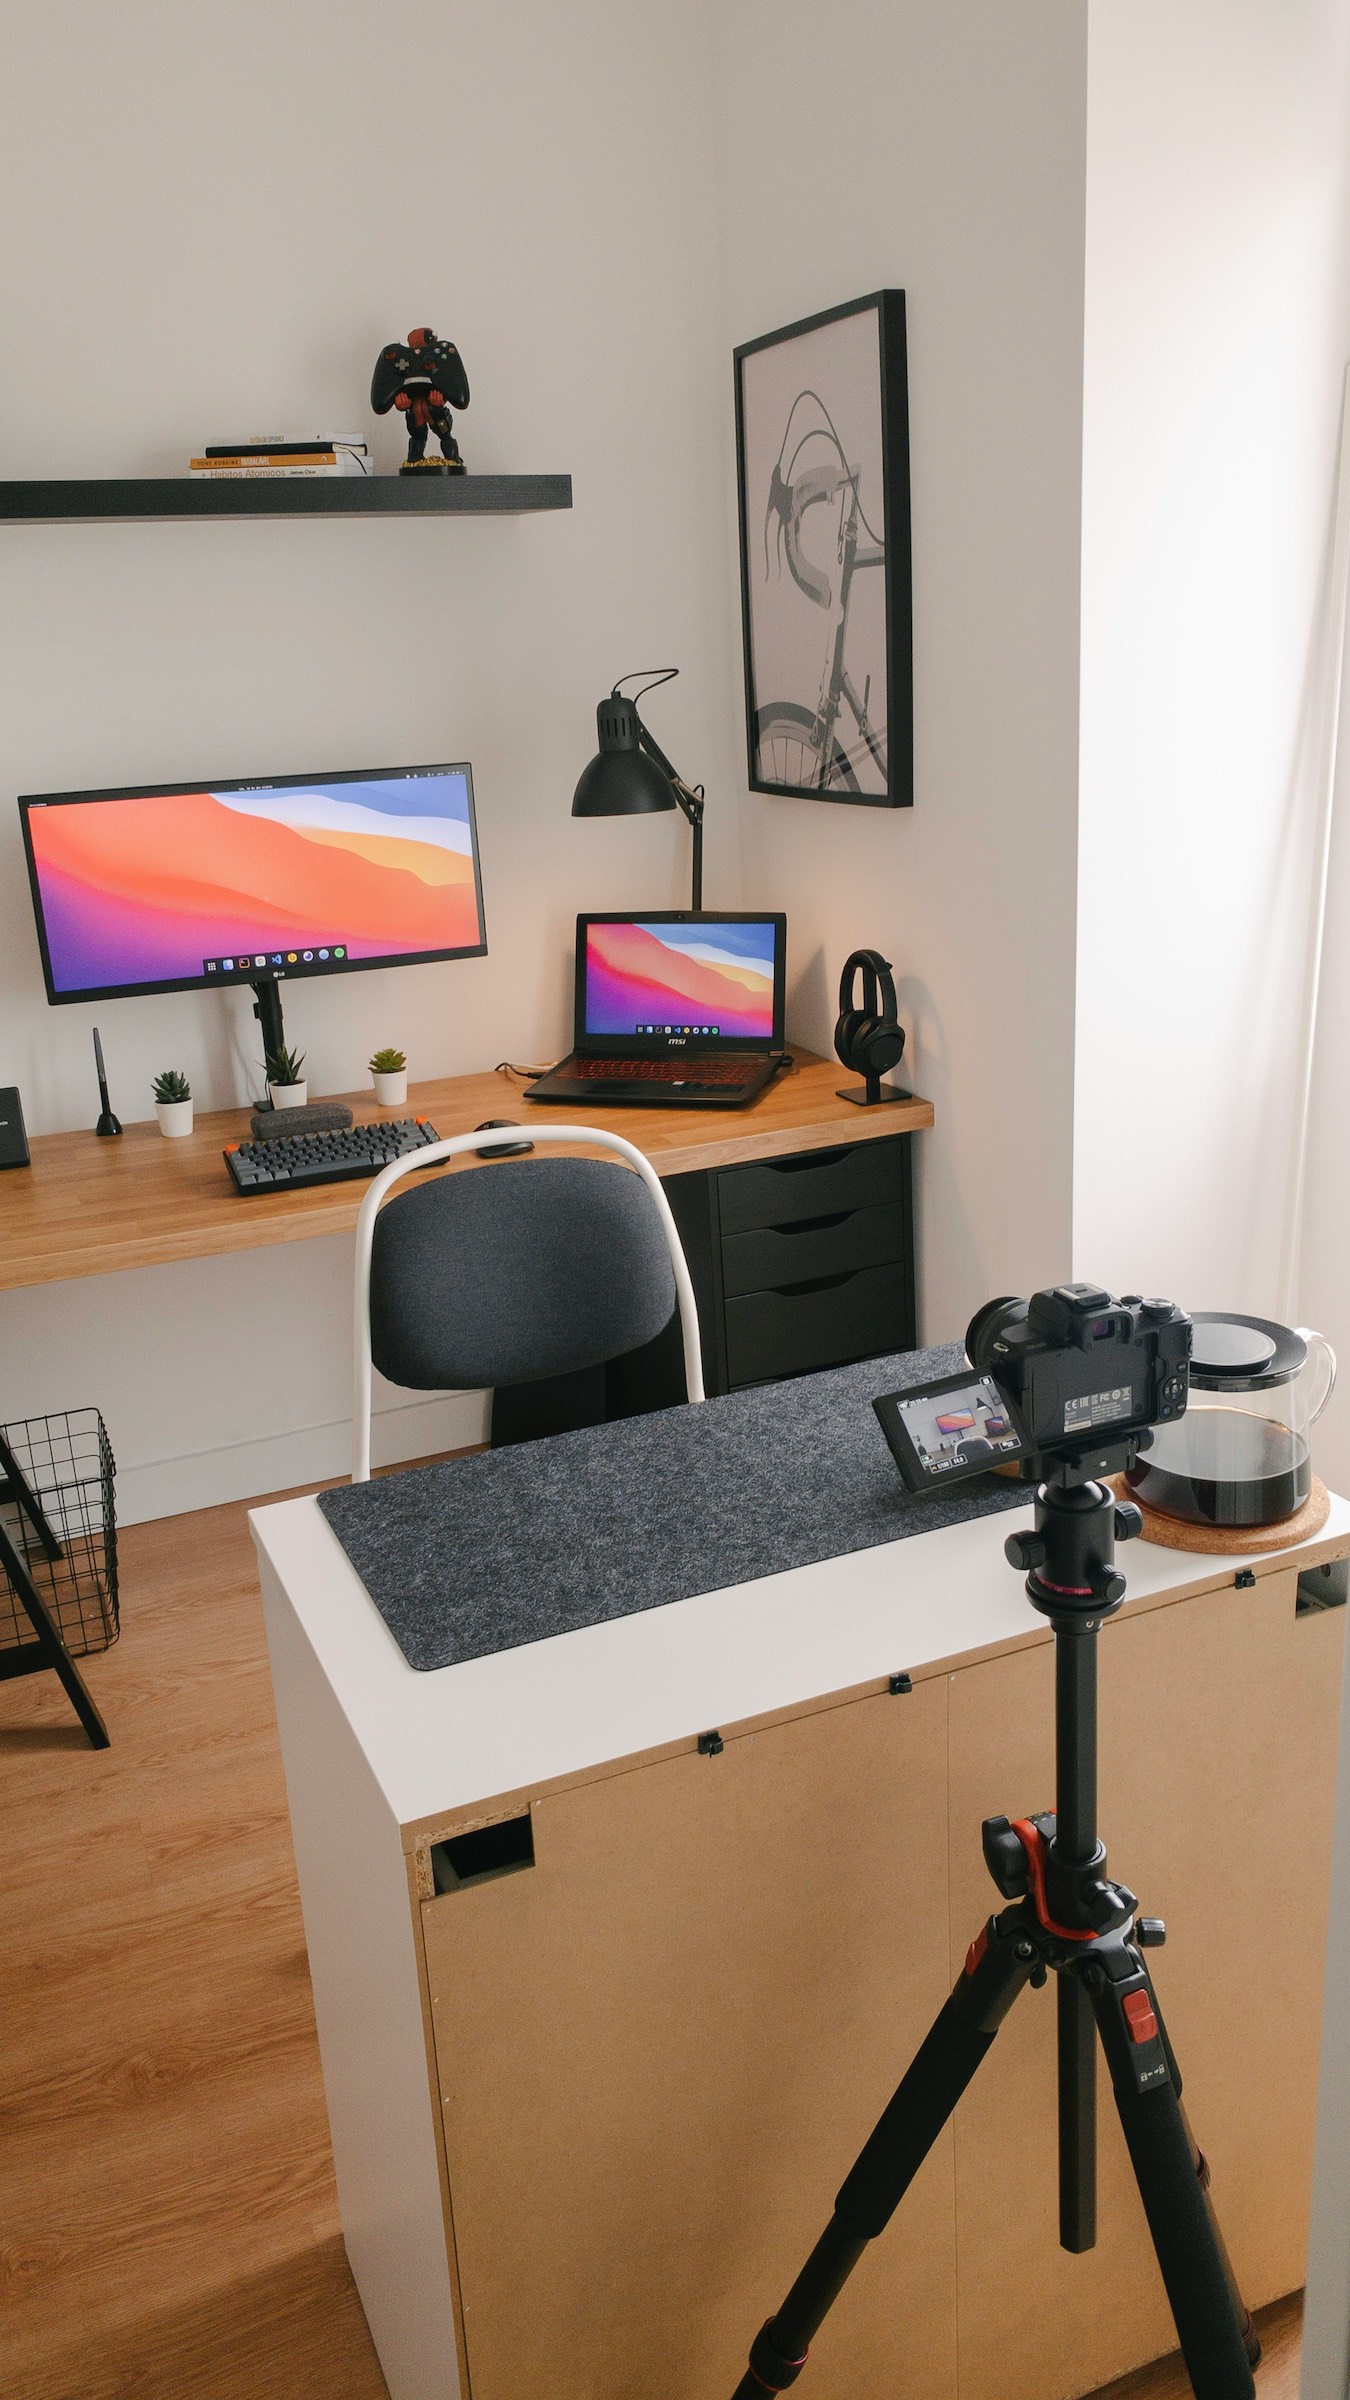
Use a tripod
If you don’t have one already, we highly recommend investing in a tripod. It’s easy to move around, can save you a lot of time setting up your shots, and can make your content feel more professional and consistent. It doesn’t have to be expensive, either. Cheap tripods are fine for most content creators, and some even come with handy extras, like a built-in ring light or phone holder.
Pro tip: If you have an Apple Watch and film your footage on an iPhone, you can control the recording from your watch! This handy feature means you can make adjustments to the scene from where you’re sitting, using your watch as a viewfinder. Just visit the Camera Remote app on your Apple Watch and use the shutter button to start or stop your recording.
Film in one continuous shot where you can
You don’t always have to stop your recording every time you mess up your script or want to start a new clip. This kind of stopping and starting will only hold you back when it comes to editing – you’ll spend more time trying to find your good clips, and you’ll probably still have to edit these down anyway. Instead, film as much as you can in one continuous shot to maximise your productivity.
Batch edit your content too!
Batch editing is just as important as batch recording! You can batch edit your content by creating various projects in the likes of CapCut or Final Cut Pro.
Batch editing lots of videos at once can make it quicker and easier to source footage, as everything will be fresh in your mind. Inspiration may even strike while you do so, and you might find you can use one clip for multiple videos or to hop on different trends!
When batch editing your content, don’t forget to name each project file so that the video is easy to find when it’s time to post or schedule.